
Introduction
Visual content is essential for keeping users engaged, but large file sizes can seriously drag down site performance. When images aren't handled properly, they eat up excessive bandwidth and force browsers to work overtime to render pages. A common mistake is uploading photos directly from high-resolution cameras. For instance, a file exceeding 4000 pixels wide often gets squeezed into a content area of only 800 or 1200 pixels. Learning how to optimize images prevents this waste by ensuring files are sized appropriately for the web before they ever hit the server.
Speed has a direct impact on user retention and conversion rates. Visitors generally expect websites to load within three seconds, and a significant portion will abandon a page that takes longer than that. By prioritizing optimization, site owners ensure faster load times and a much smoother browsing experience.
Key benefits of proper image management include:
- Reduced bounce rates through faster page delivery
- Lower bandwidth usage by eliminating unnecessary pixel data
- Improved mobile performance for users on limited data plans
- Enhanced user engagement as visuals load instantly without delay
Optimization goes beyond simple file compression; it involves a strategic approach to resizing, formatting, and automating workflows to maintain high visual quality while minimizing digital bloat.

Tip 1: Resize Images to the Correct Display Dimensions
Uploading high-resolution images directly from a camera or stock site is a frequent error. A modern smartphone photo often exceeds 4000 pixels in width, whereas a standard website content area typically ranges between 800 and 1200 pixels. When a browser is forced to download a massive file only to shrink it visually via CSS, it wastes significant bandwidth and processing power. Learning how to optimize images starts with ensuring the file dimensions match the maximum on-screen display size. This simple adjustment can reduce image file sizes by 50% or more without any perceptible loss in visual quality.
To implement this effectively, follow these steps before uploading any media:
- Measure the container: Determine the maximum width your image will occupy on the page.
- Resize manually: Use photo editing software to set the image dimensions to the exact width required.
- Check existing assets: Use your browser's Inspect tool to right-click an image and view its pixel dimensions and file size instantly.
Avoid relying solely on CSS to handle resizing, as this does not reduce the actual data the user must download.
Tip 2: Choose Next-Gen Image Formats
Moving away from legacy formats like JPEG and PNG is essential for speed. Modern formats such as WebP and AVIF provide superior compression rates while maintaining high visual quality, which significantly reduces file sizes. This directly improves Core Web Vitals, particularly the Largest Contentful Paint (LCP), by accelerating the load time of image-heavy elements. Using these formats ensures your site remains fast and competitive as browser capabilities advance.
To implement this strategy, you can serve images in multiple formats to ensure compatibility across all devices and browsers.
- Use Conversion Plugins: Install a dedicated WordPress plugin that automatically converts existing media libraries to WebP or AVIF upon upload.
- Configure Next-Gen Frameworks: If using a static site generator like Next.js, configure your settings to prioritize AVIF and WebP output in your configuration file.
- Utilize HTML Attributes: Implement the `` element or the `accept` header to serve AVIF to supported browsers while falling back to WebP or JPEG for older ones.
Prioritizing these efficient file structures is a foundational step when learning how to optimize images for maximum performance.
Tip 3: Compress Files Without Sacrificing Quality
Large, uncompressed image files are a primary cause of slow page speeds and bloated page weights. To understand how to optimize images effectively, you must reduce file size while maintaining visual fidelity. Modern formats like AVIF and WebP offer superior compression efficiency compared to traditional JPEG, resulting in smaller files with better quality retention. Utilizing the right tools ensures you strike the perfect balance between performance and aesthetics.
To implement this strategy, follow these specific steps:
- Convert to Modern Formats: Replace JPEGs with WebP or AVIF files to significantly decrease size without visible quality loss.
- Use Compression Tools: Leverage software that supports batch processing to handle multiple images at once. Look for features allowing dual-panel views to compare the original against the compressed version.
- Fine-Tune Settings: Manually adjust quality sliders and metadata stripping to achieve the lowest possible file size.
- Maintain Standards: Ensure the final image remains crisp on all devices to avoid a poor user experience.
By systematically compressing your visual assets, you enhance load times and improve overall site efficiency.
Fix Speed Issues Impacting SEO
Use Semrush’s Site Audit to identify heavy images slowing down your pages and hurting your rankings.
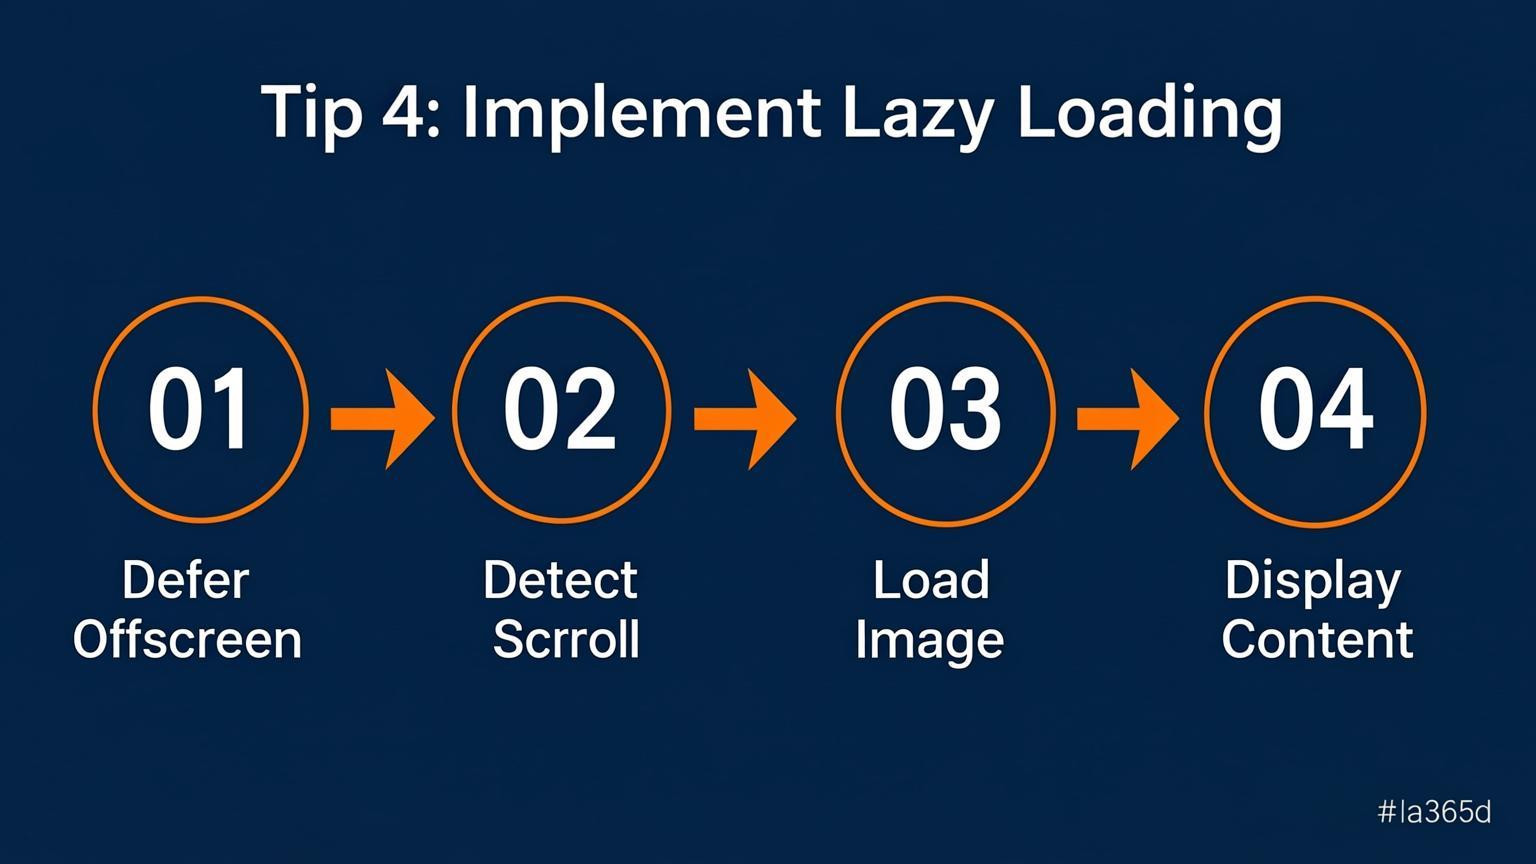
Tip 4: Implement Lazy Loading
Implementing lazy loading is a highly effective strategy for mastering how to optimize images and drastically improving page speed. This technique delays the loading of non-essential images until the user scrolls near them, rather than loading all page media simultaneously. By deferring off-screen images, you conserve bandwidth and reduce initial load times, which significantly enhances the user experience.
To implement this without complex coding, you can simply add the `loading="lazy"` attribute to your image tags in HTML.
For example:
```html
 ```
```
This native method is supported by most modern browsers and requires no JavaScript. However, ensure that you do not apply lazy loading to Above-the-Fold content or your Largest Contentful Paint (LCP) element. Critical images must load immediately to prevent performance penalties, while lazy loading is best reserved for content located further down the page.
Tip 5: Optimize Alt Text and File Names for SEO
Search engines rely heavily on text signals to interpret visual content, making file names and alt text critical components of how to optimize images. Instead of leaving the default camera codes like "IMG_1234.jpg," rename files to be descriptive and relevant to the page topic. This provides context before the image is even processed. For example, a file named "vintage-leather-armchair.jpg" is far more effective than a generic string of numbers.
Alt text serves a dual purpose: it describes images for accessibility and tells search engines what the visual depicts. However, avoid keyword stuffing, as excessive or irrelevant keywords can trigger spam signals.
To implement these changes effectively:
- Keep filenames concise: Use hyphens to separate words, such as "modern-kitchen-renovation.jpg."
- Be descriptive with alt text: Write a brief, accurate summary of the image content.
- Match user intent: Ensure the text naturally relates to the surrounding content on the page.
This strategy enhances accessibility and boosts visibility in image search results without slowing down your website.
Tip 6: Leverage Content Delivery Networks (CDNs)
A Content Delivery Network (CDN) dramatically speeds up image delivery by storing copies of your files on servers located worldwide. Instead of forcing a visitor to download an image from your origin server, which might be located on a different continent, a CDN serves the file from the physical location closest to the user. This reduces latency and bandwidth usage while lowering server load. Additionally, many modern CDNs offer built-in optimization features that automatically convert images to efficient next-generation formats like WebP or AVIF without you lifting a finger.
To implement this effectively, follow these steps:
- Select a provider: Choose a reputable CDN service that integrates well with your current hosting platform or Content Management System.
- Configure caching rules: Set appropriate cache expiration headers for your image assets to ensure they remain stored on edge servers for long periods.
- Enable automatic optimization: Turn on features for automatic image compression and format conversion to serve the most efficient file type to each browser.
- Use a dedicated domain: Consider serving images via a subdomain or cookie-less domain to reduce unnecessary HTTP request overhead.
Tip 7: Embed Critical Images and Set Cache Rules
To figure out how to optimize images for maximum speed, focus on reducing network latency and ensuring persistent storage. Embed small, critical assets like icons, logos, or decorative elements directly into the HTML using Base64 encoding or inline SVG. This technique eliminates unnecessary HTTP requests, allowing the browser to render these visuals immediately without waiting for a separate server response. For instance, converting a simple social media icon into an inline SVG removes the need for an external file fetch entirely.
Furthermore, establish robust caching rules to handle larger image files efficiently. Host static assets on a Content Delivery Network (CDN) that supports HTTP/2 or HTTP/3 to facilitate faster delivery. Configure your server headers to set long cache lifetimes for static resources, ensuring returning visitors can load images from their local browser cache rather than re-downloading them.
To implement these strategies:
- Inline critical assets: Convert vital images under 2KB to Base64 strings or SVG code within your HTML.
- Leverage a CDN: Distribute image files across global edge servers to reduce physical distance to the user.
- Set cache headers: Use directives such as `Cache-Control: max-age=31536000` to instruct browsers to store images for a year.
Conclusion
Mastering how to optimize images is essential for maintaining fast load times and retaining visitors, as users often abandon sites that take longer than three seconds to load. Uploading high-resolution photos directly from a camera forces browsers to download unnecessary data, so resizing files to match your website's specific display width is a critical first step.
Beyond resizing, effective optimization requires compression and modern format usage. Converting visuals to WebP and utilizing tools that automate compression can drastically reduce file sizes without sacrificing visual quality. For those managing large-scale websites, integrating automation into the build or deployment workflow ensures every image remains optimized consistently.
Key takeaways include:
- Resize before uploading: Ensure dimensions match the maximum display width needed on your page to prevent wasted bandwidth.
- Choose the right tools: Use software that balances compression levels with quality, and consider plugins that handle this process automatically.
- Adopt modern formats: Serve images in next-generation formats like WebP to improve performance.
- Automate the process: Streamline workflows by automating optimization tasks to save time and maintain standards across your site.
By focusing on these strategies, you create a faster, more efficient experience that benefits both users and search engine rankings.
Comments
0